I've been looking for ideas to diy something July the 4th for my little girl. I mainly focused on the hair accessory like hair clips b/c there are easy and usually takes a little bit time to make.
Yesterday, I found this post from Pinterest.
DIY Eraser-Stamped 4th of July Shirt
Oh, lucky me. It looks easy and I totally have everything that I need to make this eraser stamped tee (I'm actually doing a onesie...).
Let's get started.
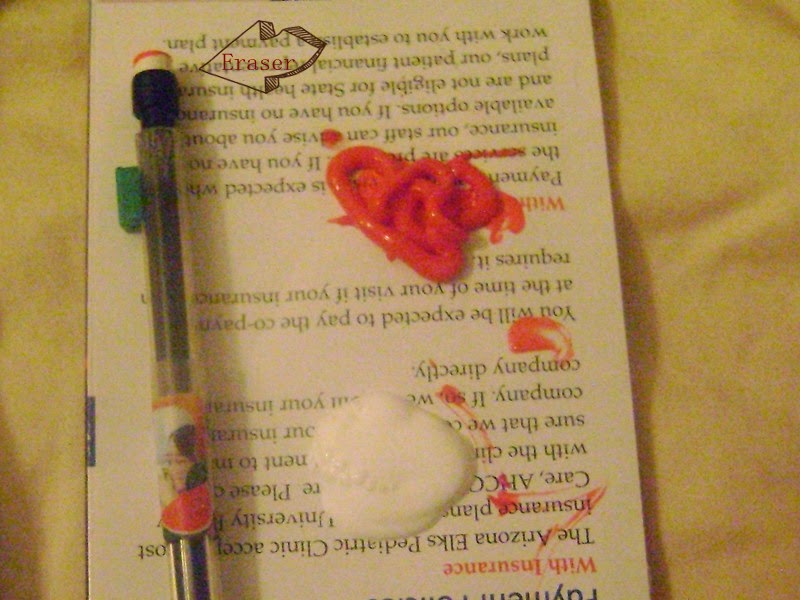
You'll need:
Eraser: it's missing from the pic!!!!! Use the pencils that have eraser on the top.
Onesie of your choice. Mine is from Carter and already has star pattern on it.
Star template. Google image, print and cut. My dear hubby did this part for me.
Fabric paint: white, red and white
Washable crayon, from my daughter's art box. I bought it from local Target.
Masking tape, Dollar Tree
Cardboard or notebook
Step 1 Put the notebook in between the fabric so you have a hard steady place to work on. Draw the star shape on the front of the onesie (eyeball to center it) using the crayon
Step 2 Masking-tape the star shape
Step 3 Get your working station ready. When I need to paint, I always use an old bed sheet.
Step 4 Stamp, Stamp and Stamp. Have fun!
Step 5 Remove the masking tape.
Step 6 Let dry and dress up the baby!


 .
.